
Table of Contents
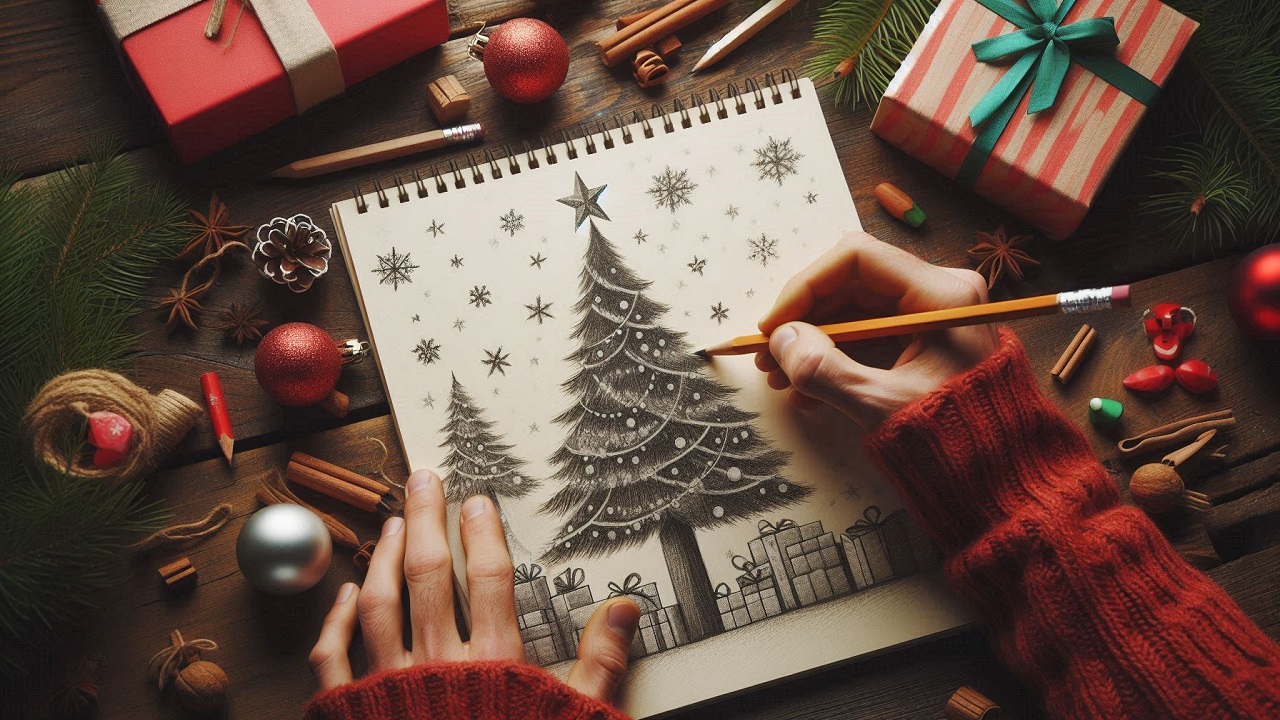
Christmas Tree Drawing: The Christmas tree symbolizes joy, togetherness, and holiday spirit. Drawing a Christmas tree can be an enjoyable and creative way to express your holiday cheer. Whether you’re an aspiring artist or just someone who loves the festive season, this guide will take you through each step to create a beautiful Christmas tree drawing.
Materials You’ll Need
To begin your Christmas tree drawing, gather the following items:
| Item | Description |
|---|---|
| Drawing paper | Use good-quality paper for smooth and clean results. |
| Pencils | Use HB for sketching and 2B or 4B for shading. |
| Eraser and sharpener | For corrections and to keep your pencil sharp. |
| Ruler | Optional, for drawing straight edges for the base or decorations. |
| Colors | Colored pencils, markers, or watercolors for decorating your tree. |
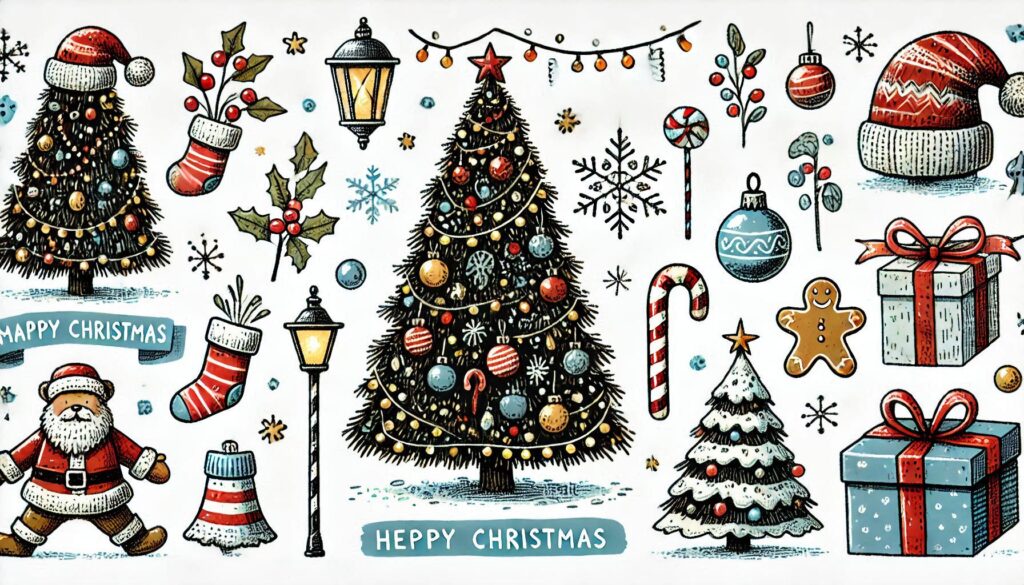
Step 1: Decide the Type of Christmas Tree
Before you start drawing, choose the style of the Christmas tree. Here are some options:
- Classic Tree: A triangular tree with simple layers.
- Realistic Tree: A detailed tree with individual branches and pine needles.
- Cartoon Tree: A playful and exaggerated tree for fun illustrations.
Step 2: Sketch the Tree Outline
- Start with the Base Shape
- Lightly draw an inverted triangle in the center of your paper to represent the general shape of the tree.
- Add a small rectangle at the bottom for the trunk.
- Add Layers
- Divide the triangle into three or more sections to create the layered effect of a Christmas tree.
- Draw zigzag or curved lines across each section to represent the edges of branches.
- Refine the Shape
- Erase unnecessary lines from the triangle and make the branches more defined.
Step 3: Add Details to the Tree
- Branches and Needles
- Use small, curved lines or V-shaped patterns to draw pine needles on each branch.
- For a simpler look, stick to zigzag edges for the branches.
- Trunk Texture
- Add vertical lines to the trunk to give it a wooden texture.
- Decorative Elements
- Draw ornaments like circles, stars, or candy canes on the branches.
- Add a star or angel at the top of the tree for a festive touch.
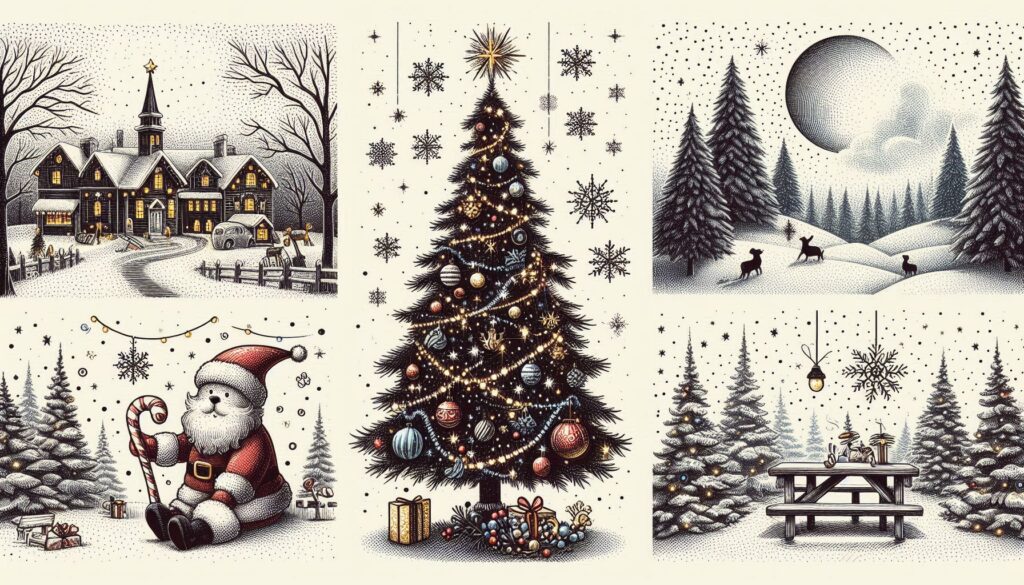
Step 4: Include Background Elements
Enhance your drawing by adding elements such as:
- Snowflakes in the background using tiny dots or cross shapes.
- A pile of gifts under the tree, with rectangular or square shapes wrapped in bows.
- A snowy ground using wavy lines or patterns.
Step 5: Coloring in the Christmas Tree Drawing
- Base Colors
- Use green for the tree. Start with a lighter green as the base layer.
- Brown for the trunk and red, gold, or blue for ornaments.
- Shading
- Apply darker green on the edges and corners of the branches for depth.
- Use lighter shades or white for highlights, mimicking snow or light.
- Details on Ornaments
- Use metallic or vibrant colors for the ornaments.
- Add sparkles or glitter effects to make them stand out.
Example Table: Christmas Tree Drawing
| Step | Action |
|---|---|
| Step 1: Outline | Draw a triangle for the tree and a rectangle for the trunk. |
| Step 2: Layers | Divide the tree into three or more layers using curved lines. |
| Step 3: Branches | Add zigzag lines or small curved lines to represent branches and needles. |
| Step 4: Ornaments | Sketch circles, stars, or candy canes on the branches. |
| Step 5: Coloring | Use green for the tree, red for ornaments, and brown for the trunk. |
| Step 6: Background | Add snowflakes, gifts, and a snowy ground. |
Tips for a Perfect Christmas Tree Drawing
- Start Light: Always sketch lightly so you can erase mistakes without damaging the paper.
- Use Reference Images: Look at pictures of Christmas trees to get inspiration for shapes and decorations.
- Experiment with Styles: Try different types of Christmas trees, such as cartoonish or realistic.
- Add Personal Touches: Customize your tree with unique decorations, like family-themed ornaments.
- Blend Colors: Use blending tools or your fingers to smooth color transitions and add depth.
Step-by-Step Guide for a Cartoon Christmas Tree
Here’s a simplified process to draw a cartoon-style Christmas tree:
| Step | Instructions |
|---|---|
| 1. Draw Base | Sketch a big, rounded triangle with a small trunk underneath. |
| 2. Add Layers | Divide the triangle into three curvy, rounded sections. |
| 3. Decorations | Add large ornaments and a big star at the top. |
| 4. Outline | Darken the outer edges for definition. |
| 5. Color | Use bright, solid colors to make it vibrant. |
Common Mistakes and Solutions
| Mistake | Solution |
|---|---|
| Overloading with details | Focus on a few key elements instead of overcrowding the drawing. |
| Uneven branches | Use a light sketch and adjust layers for symmetry. |
| Ignoring shadows and depth | Add shading to make your drawing more three-dimensional. |
| Using too much pressure | Keep pencil strokes light and gentle for easier corrections. |
Advanced Techniques for Realistic Christmas Trees
If you want to take your drawing to the next level, try these tips:
- Texture Details:
- Use fine lines for realistic pine needles.
- Add tiny imperfections to mimic natural branches.
- Lighting Effects:
- Create glowing effects for string lights using yellow and white colors.
- Use gradients to show light reflecting off ornaments.
- Snow Details:
- Use white or light blue to add snow on branches.
- Blend softly for a natural, frosty effect.
FAQs
Q: Can I use markers instead of colored pencils?
A: Yes, markers can give a bold and vibrant look to your drawing. Use fine-tipped markers for detailed areas.
Q: How can I make my tree symmetrical?
A: Start by drawing a vertical guideline in the center and sketch equal layers on both sides.
Q: What if I make a mistake while coloring?
A: Use an eraser or white gel pen to correct small errors. For major mistakes, cover them with additional decorations or snow.